Adding Custom Emulator to Retrobat / EmulationStation
Overview
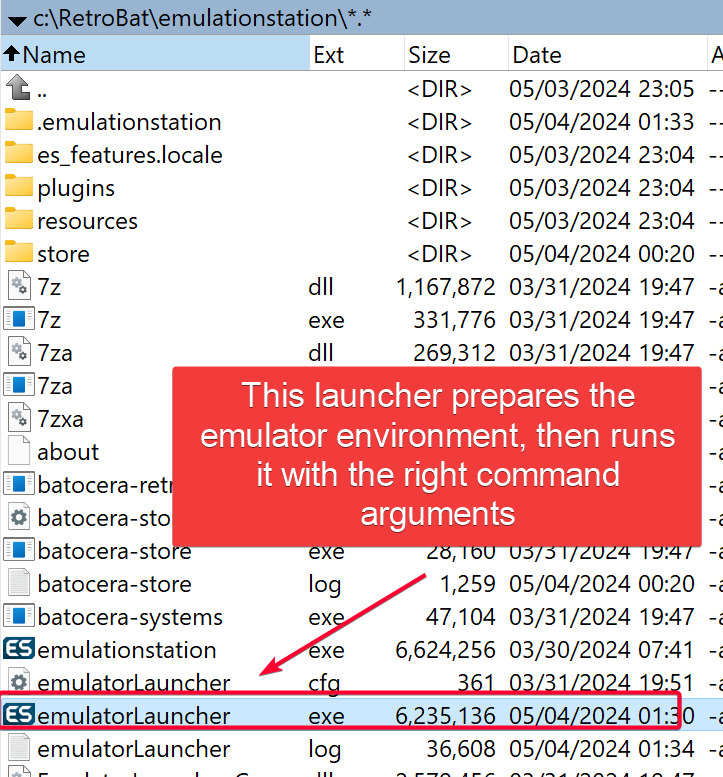
Unlike most frontend, EmulationStation (ES) does not allow one to easily add custom emulator because it is tightly integrated with the emulator choices that it came with. When you select a game from ES, the game information such as emulator choice, rom path, etc. is passed to a emulatorLauncher.exe loader. This loader uses the information to prepare the emulator settings and launch argument before running the chosen emulator.
Development
Setting Up Development Environment
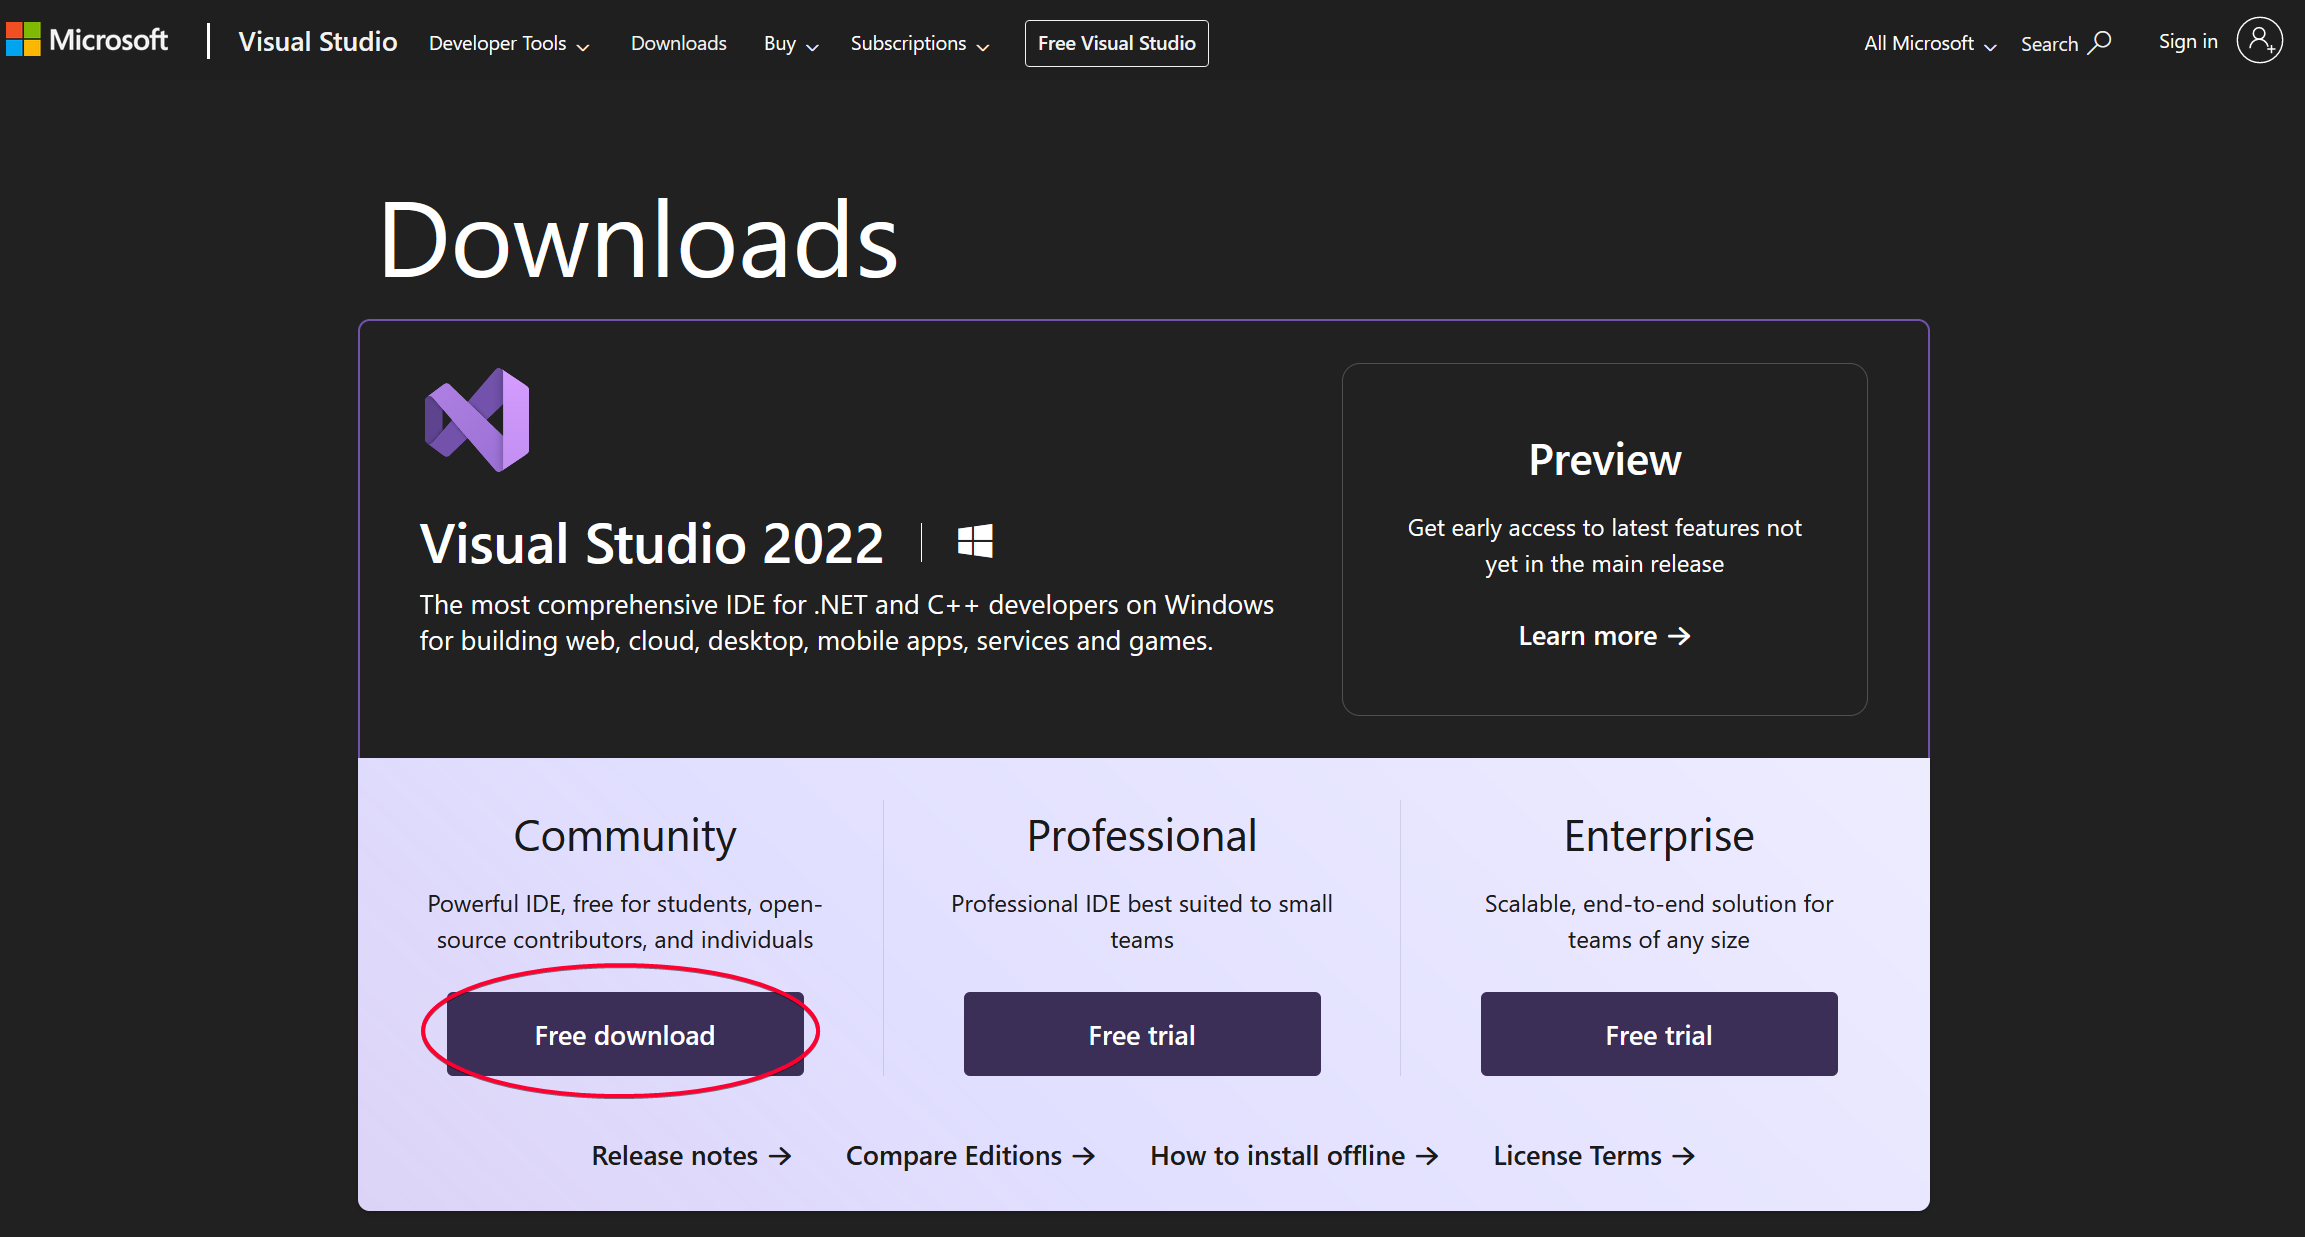
Visual Studio 2022
Download VS Studio 2022 Community Edition from https://visualstudio.microsoft.com/downloads/
Go through the wizard and install.
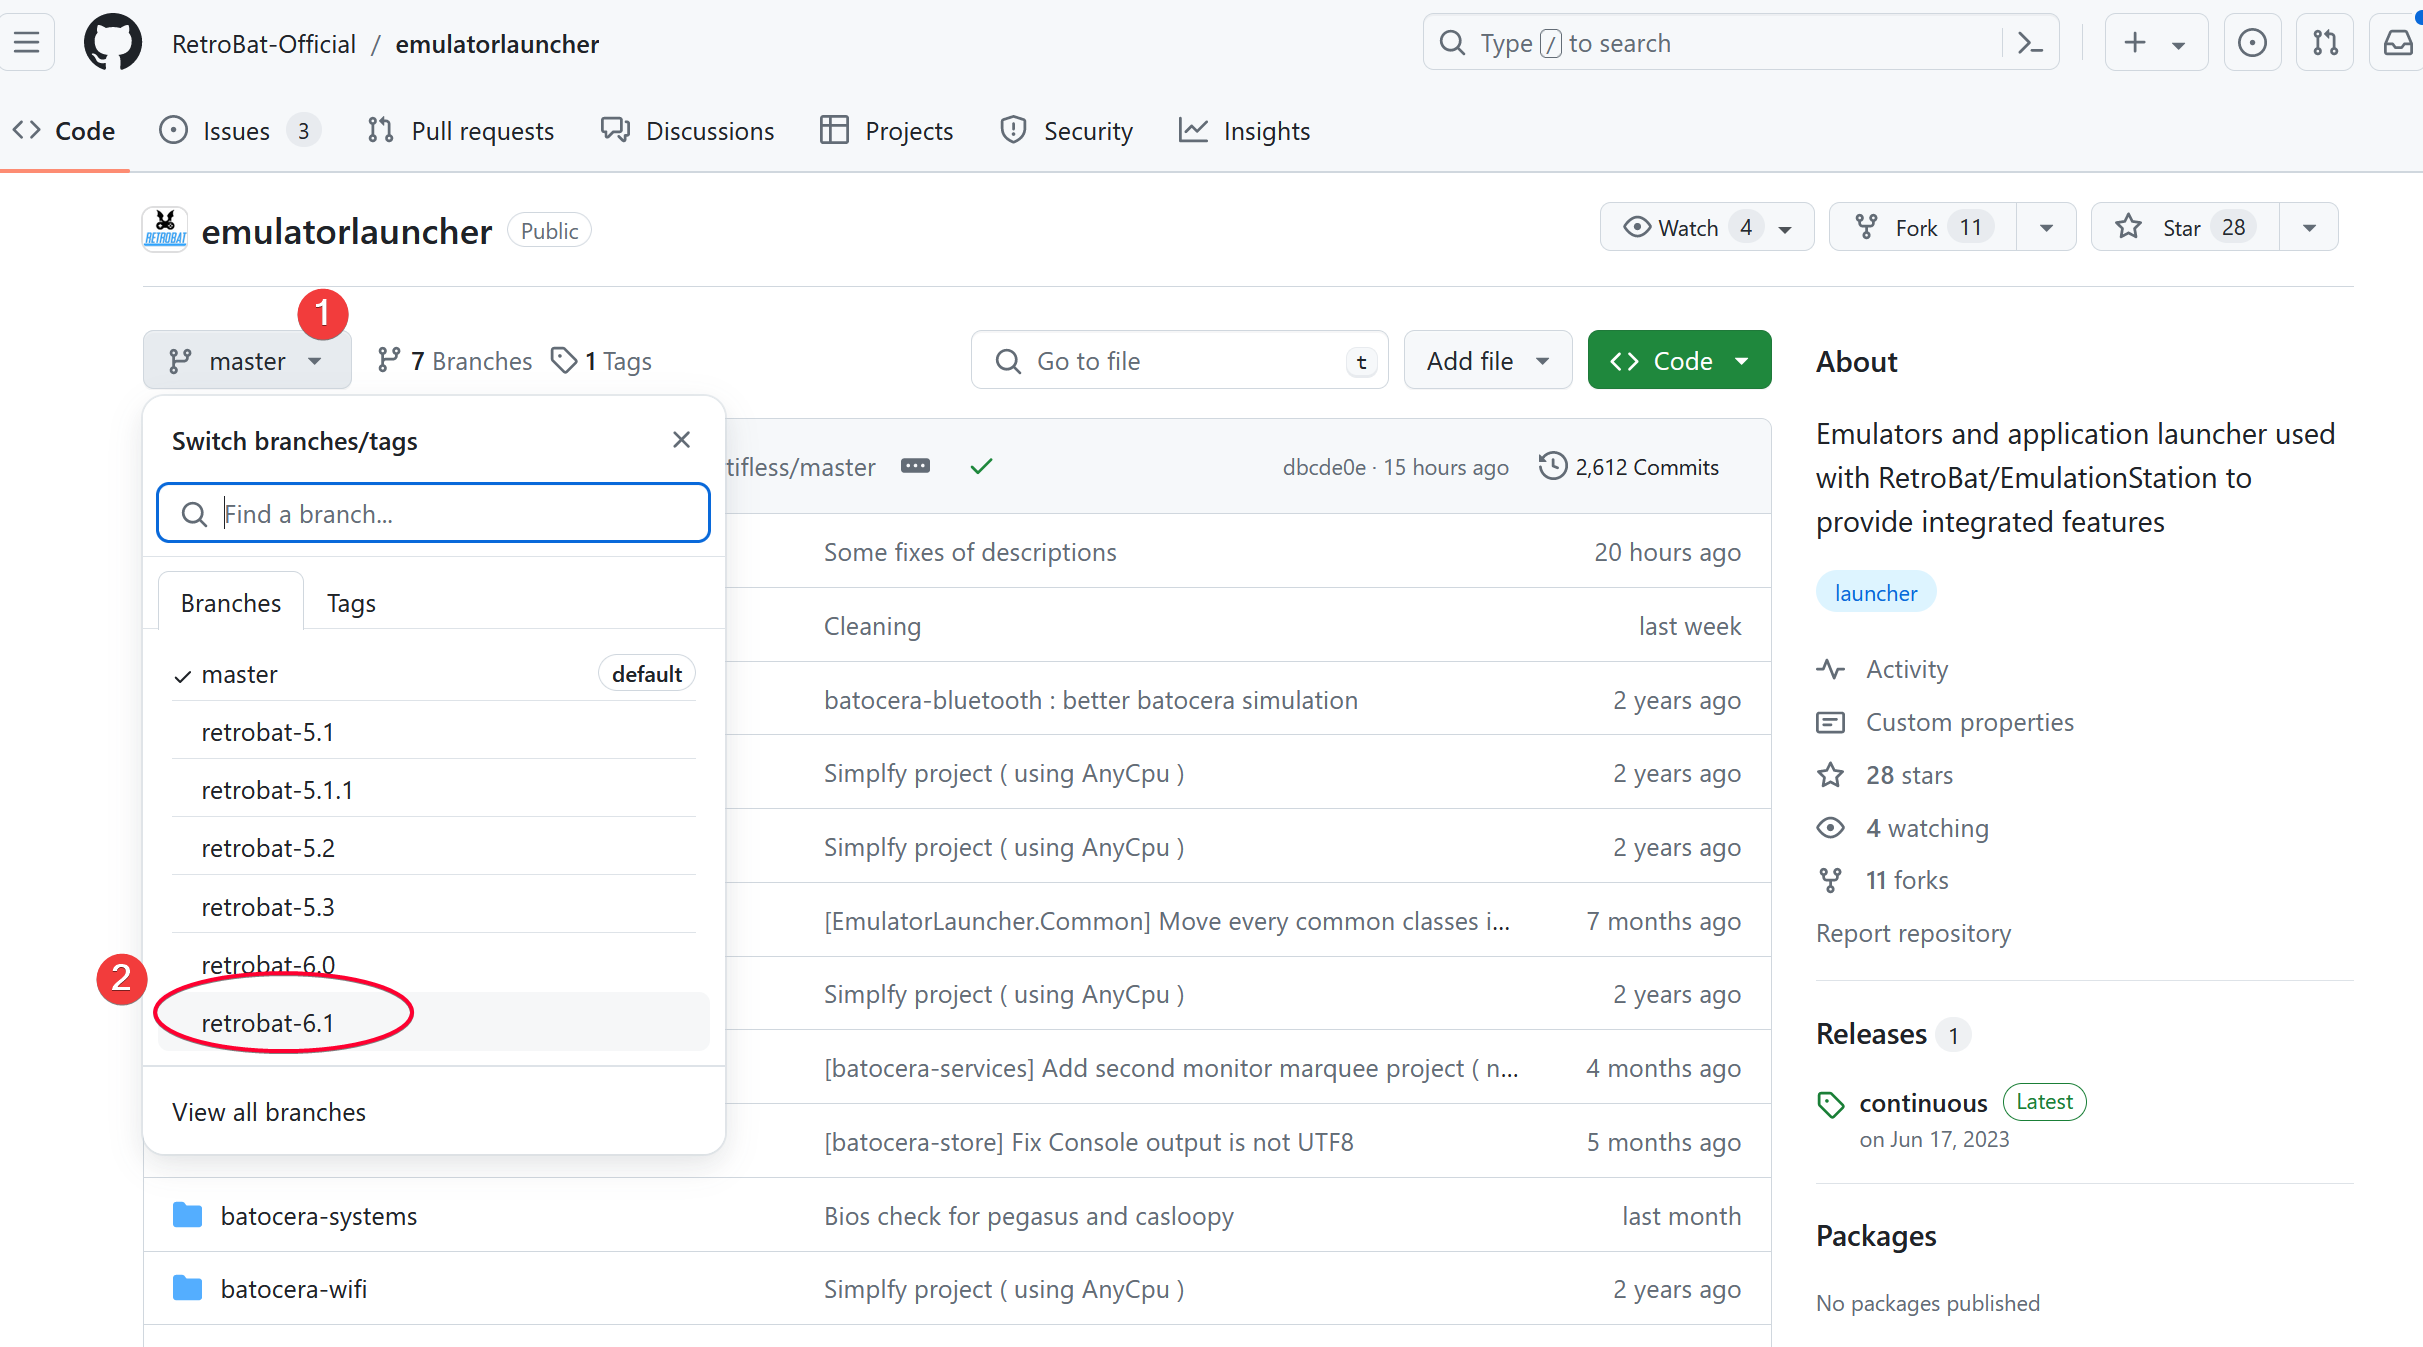
Clone EmulatorLauncher Repo
Go to https://github.com/RetroBat-Official/emulatorlauncher and clone the repo. We need this to make changes to the emulatorLauncher EXE and build it.
TIP
Make sure to select a branch that matches the RetroBat version that you downloaded. For example I installed Retrobat v6.1, so I will download the retrobat-6.1 branch.
Project Structure
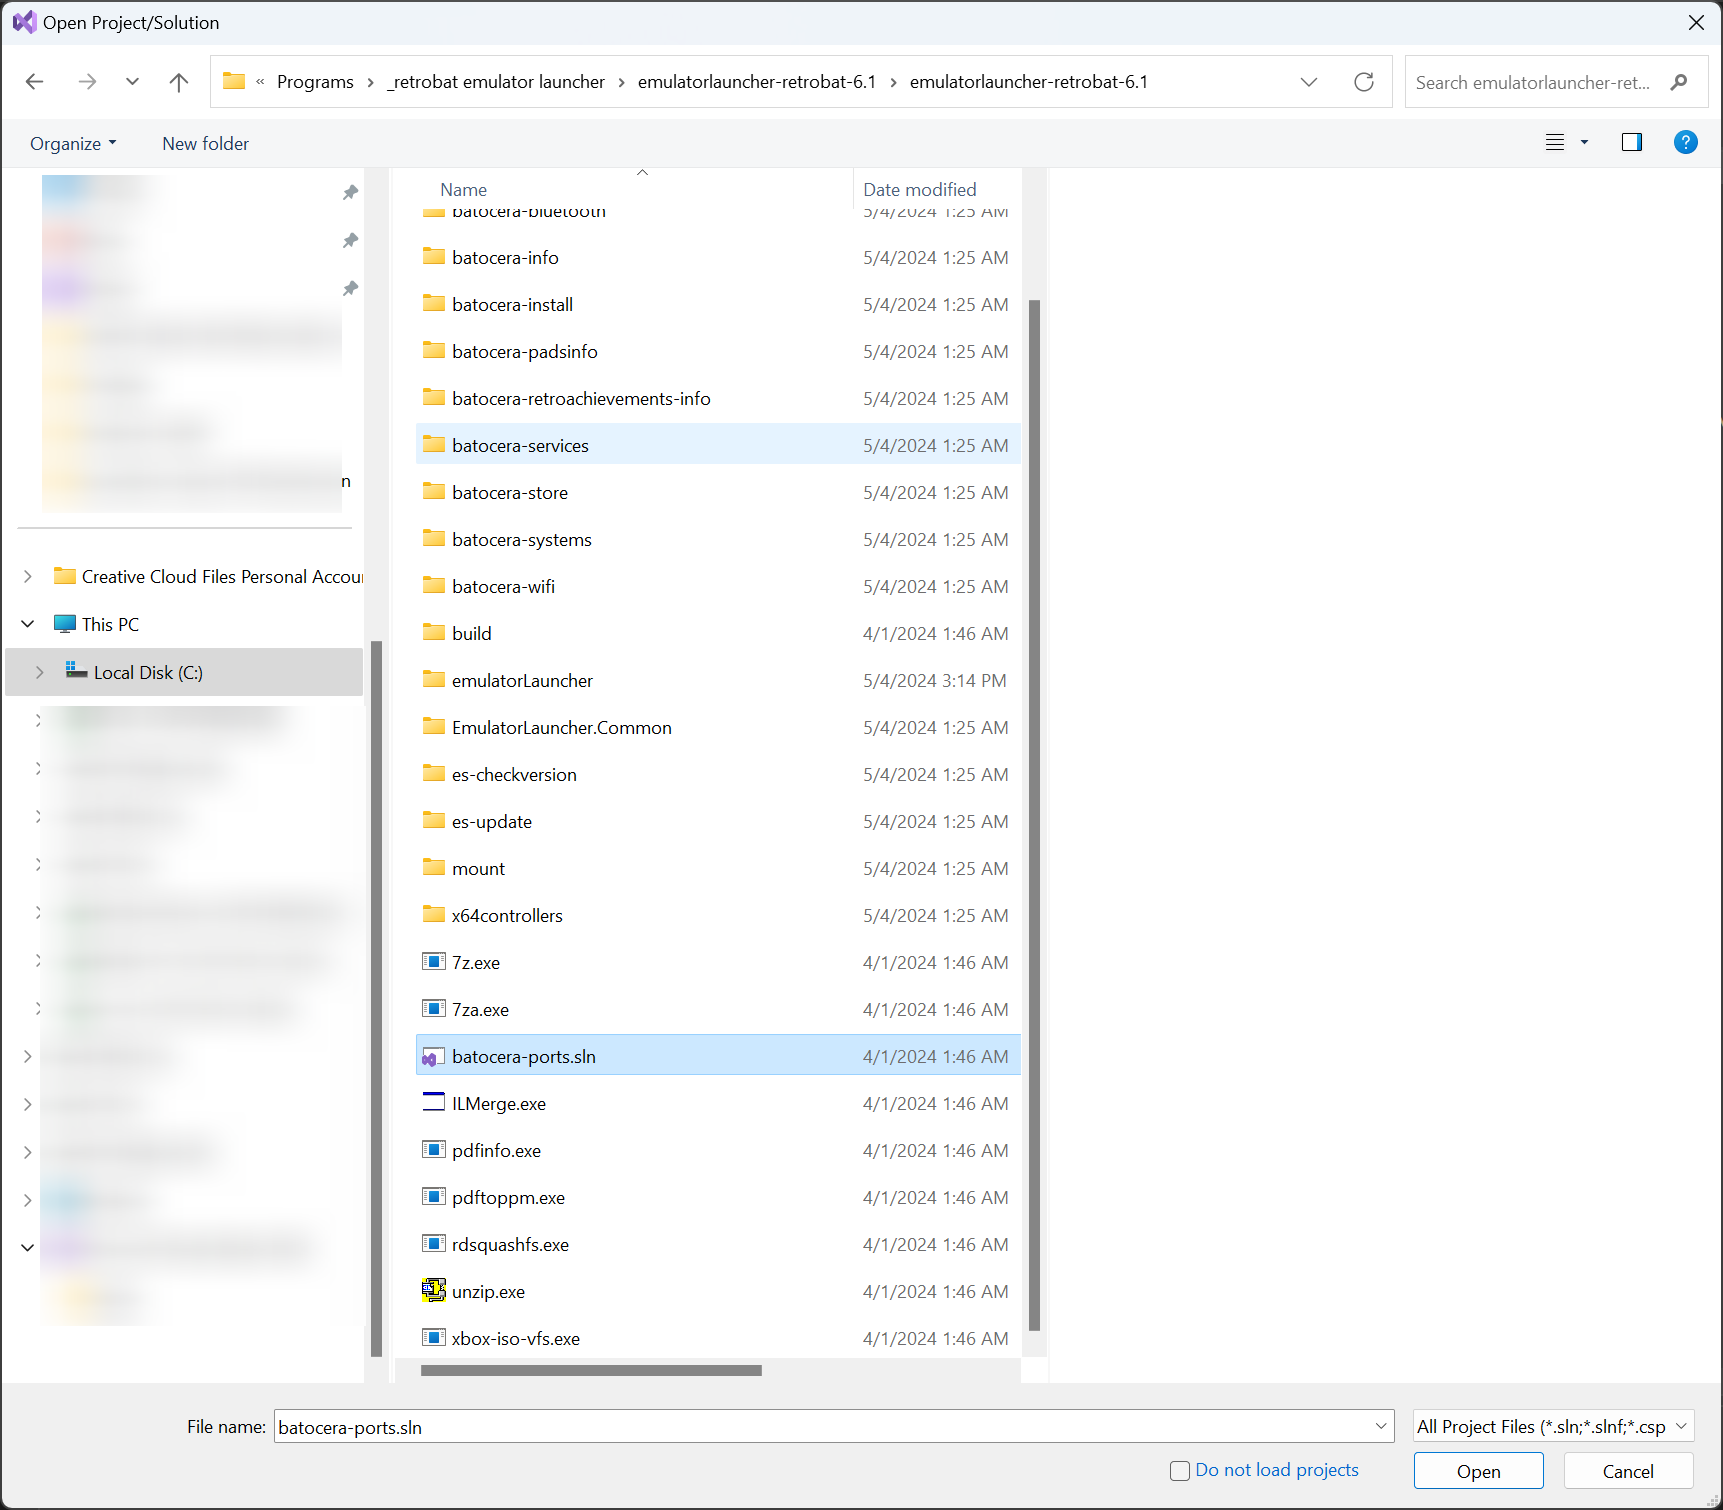
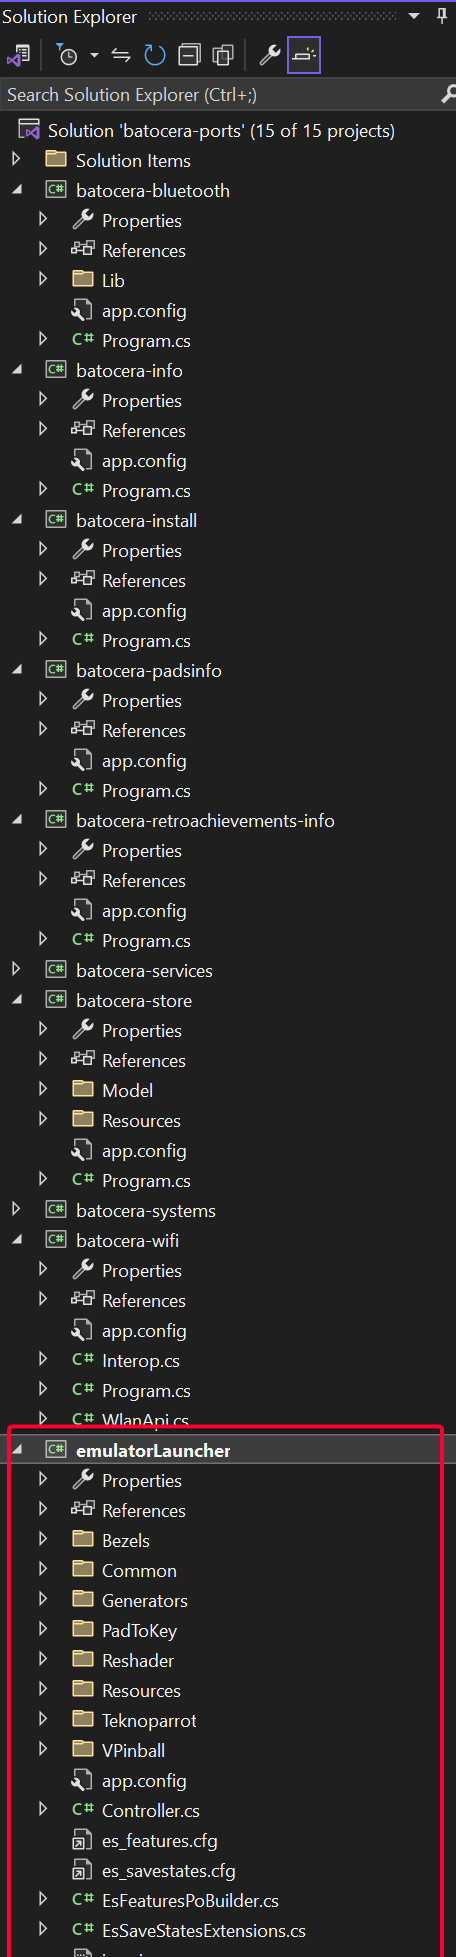
It is a C# project build on .NET 4.0 Reference Assemblies. We are interested to modify emulatorLauncher project. The others are helpers or dependencies that the emulatorLauncher project depends on, so we have to open the root batocera-ports.sln file instead of the emulatorLauncher.csproj file inside emulatorLauncher project, otherwise it will complaint some files couldn't be found.
DANGER
When you first open batocera-ports.sln from Visual Studio 2022, it will prompt you if you want to upgrade to .NET 4.8, choose YES. This is very important because .NET 4.0 is obselete and the upgrade is automatically done for you. DO NOT SKIP THIS STEP, OTHERWISE YOU WILL NOT BE ABLE TO COMPILE ANYTHING !!!
Following are some important files/folders:
batocera-ports.sln: The main project solution file that you will open in VS Studio.
emulatorLauncher: The project that buildsemulatorLauncher.exe.
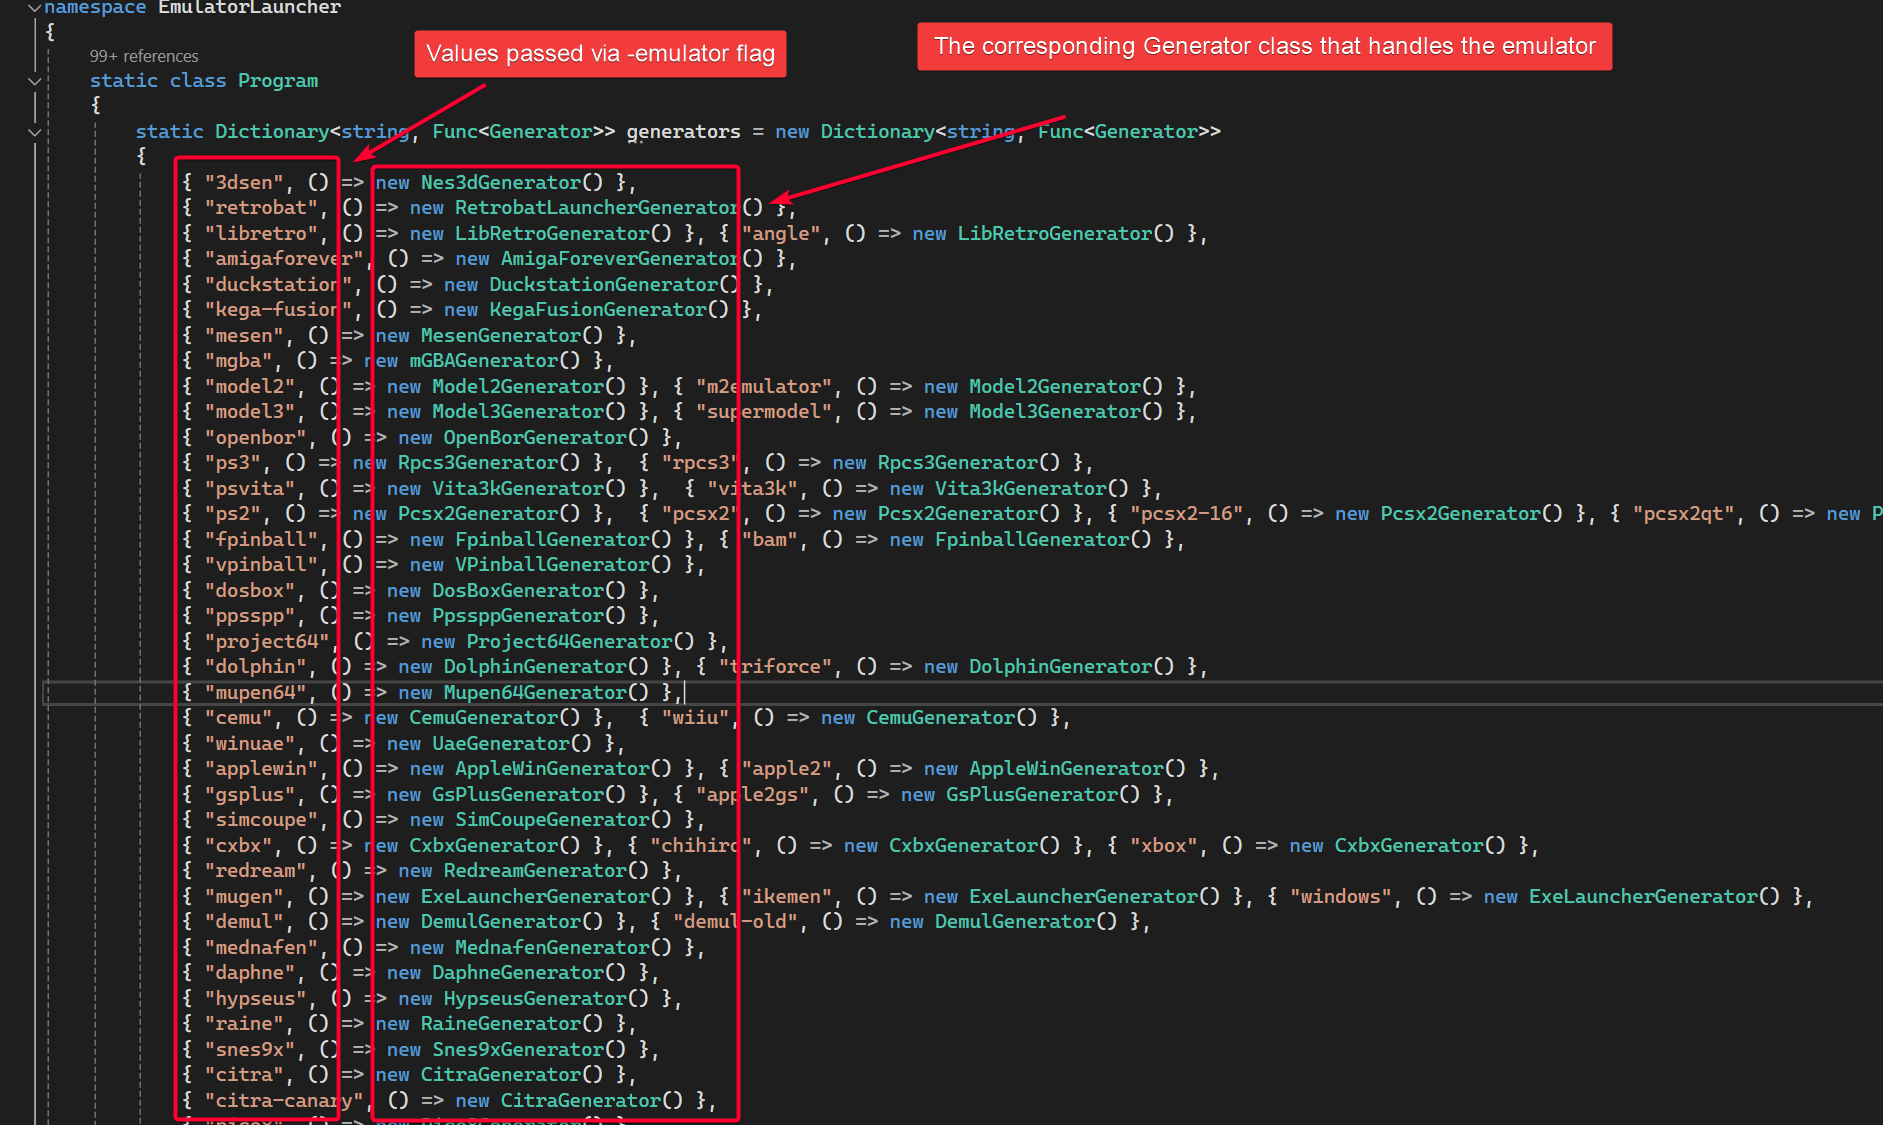
emulatorLauncher/Program.cs: Handles which EmulatorGenerator class to invoke based on values passed via-emulatorflag). There is one EmulatorGenerator class per Emulator, as defined in theProgram.csDictionary.
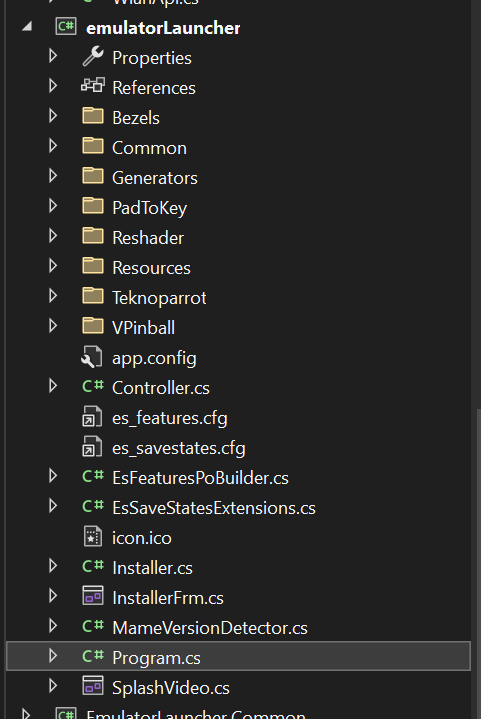
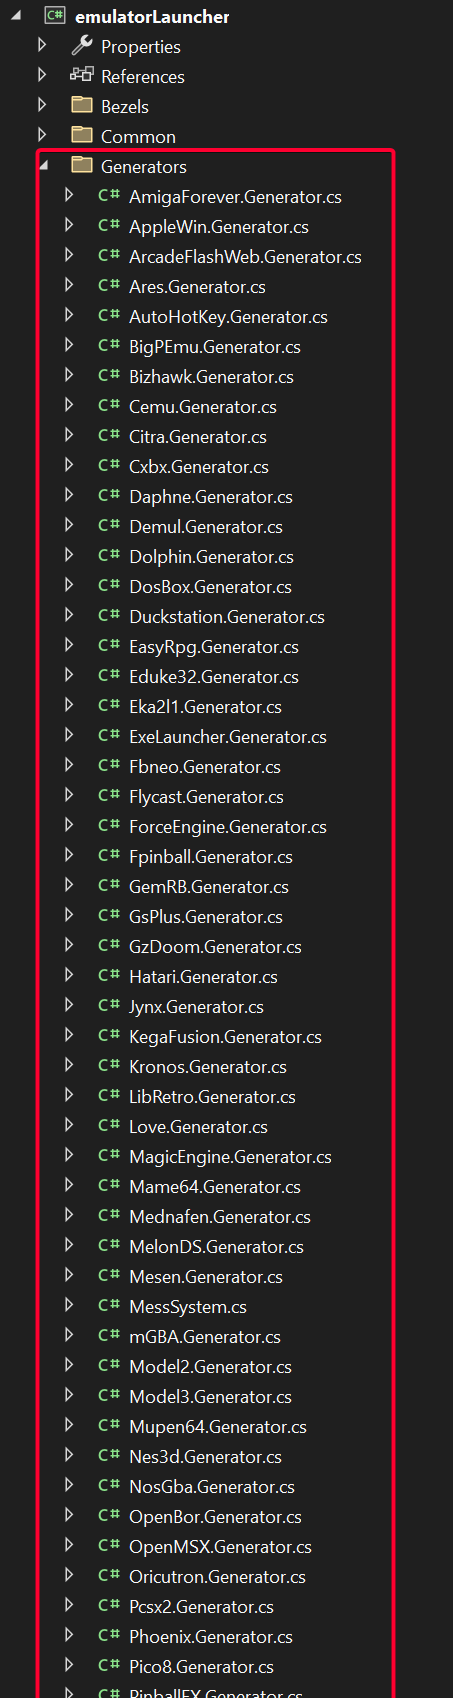
emulatorLauncher/Generators: Bootstrap the emulator and run it.
emulatorLauncher Project
Before we start to add our custom emulator, let's understand how the emulatorLauncher.exe works.
- All the arguments passed to
emulatorLauncher.exewill be parsed inProgram.cs. - Based on the values passed to
-emulatorflag, it then decide whichEmulatorGenerator.csfile to invoke.
- The Generator handles the following logic to actually run the emulator.
What EmulatorGenerator.cs does: (mostly applied to complicated emulator such as RetroArch)
- Check if the emulator path exist
- Apply reshade shader / bezel
- Apply controller info
- Modify emulator settings file (e.g. config.ini) based on emulator setting setup in emulation station.
- Prepare launch argument (e.g. -f for full screen, rom path)
- Finally run the emulator with the command argument constructed in 4.
For simple emulator without the need to modify emulator settings, we can simply skip steps 2-3, which gives us:
- Check if the emulator path exist
- Prepare launch argument such as rom path
- Finally run the emulator with the command argument constructed in 4.
Adding Custom Emulator - AutoHotKeyv2
The AutoHotKeyv2 emulator doesn't really need to do much, it just runs a .ahk file which is passed in via -romfile.
Add autohotkey to Program.cs Dictionary
...
            { "xm6pro", () => new Xm6proGenerator() },
            { "stella", () => new StellaGenerator() },
            { "theforceengine", () => new ForceEngineGenerator() },
            { "kronos", () => new KronosGenerator() },
            { "gzdoom", () => new GZDoomGenerator() },
            { "magicengine", () => new MagicEngineGenerator() },
            { "gemrb", () => new GemRBGenerator() },
            { "psxmame", () => new PSXMameGenerator() },
            { "fbneo", () => new FbneoGenerator() },
            { "autohotkeyv2", () => new AutoHotKeyGenerator() },   <---- Add this
        };
autohotkeyv2 is the value we need to pass via -emulator flag to invoke this new generator.
E.g.
"C:\RetroBat\emulationstation\emulatorLauncher.exe" -gameinfo "C:\Users\Gary\AppData\Local\Temp\emulationstation.tmp\game.xml" -p1index 0 -p1guid 030000005e040000e002000000007200 -p1path "BTHENUM\{00001124-0000-1000-8000-00805F9B34FB}_VID&0002045E_PID&02E0\7&1F7A91F6&0&E417D844FE76_C00000000" -p1name "Xbox One S Controller" -p1nbbuttons 16 -p1nbhats 1 -p1nbaxes 6 -system switch -emulator autohotkeyv2 -core -rom "Z:\roms-noset\nintendo-switch\Darkest Dungeon [01008A700989A000].ahk"Next, we will create a AutoHotKeyGenerator.cs file inside the Generators folder.
Create AutoHotKeyGenerator Class
For the Generator, we need to override the following functions and implement our own logic:
public override System.Diagnostics.ProcessStartInfo Generate(string system, string emulator, string core, string rom, string playersControllers, ScreenResolution resolution)Here we simply need to:
- Check if the emulator path exist
- Prepare launch argument such as rom path
Another function to override. We don't need to do much here, it simply run the emulator exe then wait for it to quit, just copy and paste the implementation from other Generator class.
public override int RunAndWait(ProcessStartInfo path)To sum it up, our AutoHotKeyGenerator class does the following:
- Check if the emulator path exist
- Prepare launch argument such as rom path
- Finally run the emulator with the command argument constructed in step 2.
Complete AutoHotKeyGenerator.cs file:
using System.Collections.Generic;
using System.IO;
using System.Diagnostics;
using EmulatorLauncher.Common;
using EmulatorLauncher.Common.FileFormats;

namespace EmulatorLauncher
{
    class AutoHotKeyGenerator : Generator
    {
        private BezelFiles _bezelFileInfo;
        private ScreenResolution _resolution;

        public override System.Diagnostics.ProcessStartInfo Generate(string system, string emulator, string core, string rom, string playersControllers, ScreenResolution resolution)
        {
            string path = AppConfig.GetFullPath("autohotkeyv2"); // This folder has to exist under `RetroBat\emulators` folder

            string exe = Path.Combine(path, "AutoHotkey64.exe"); // This exe file has to exist under `RetroBat\emulators\autohotkeyv2` folder
            if (!File.Exists(exe))
                return null;

            //Applying bezels
            if (!ReshadeManager.Setup(ReshadeBezelType.opengl, ReshadePlatform.x64, system, rom, path, resolution))
                _bezelFileInfo = BezelFiles.GetBezelFiles(system, rom, resolution);

            //_resolution = resolution;
            //bool fullscreen = !IsEmulationStationWindowed() || SystemConfig.getOptBoolean("forcefullscreen");

            //SetupConfiguration(path, rom, system, fullscreen);

            var commandArray = new List<string>();

            //if (fullscreen)
            //    commandArray.Add("-f");

            commandArray.Add("\"" + rom + "\"");

            string args = string.Join(" ", commandArray);

            return new ProcessStartInfo()
            {
                FileName = exe,
                WorkingDirectory = path,
                Arguments = args,
            };
        }

        public override int RunAndWait(ProcessStartInfo path)
        {
            FakeBezelFrm bezel = null;

            if (_bezelFileInfo != null)
                bezel = _bezelFileInfo.ShowFakeBezel(_resolution);

            int ret = base.RunAndWait(path);

            if (bezel != null)
                bezel.Dispose();

            if (ret == 1)
            {
                ReshadeManager.UninstallReshader(ReshadeBezelType.opengl, path.WorkingDirectory);
                return 0;
            }
            ReshadeManager.UninstallReshader(ReshadeBezelType.opengl, path.WorkingDirectory);
            return ret;
        }

    }
}
Important Notes:
string path = AppConfig.GetFullPath("autohotkeyv2"); // This folder has to exist under `RetroBat\emulators` folder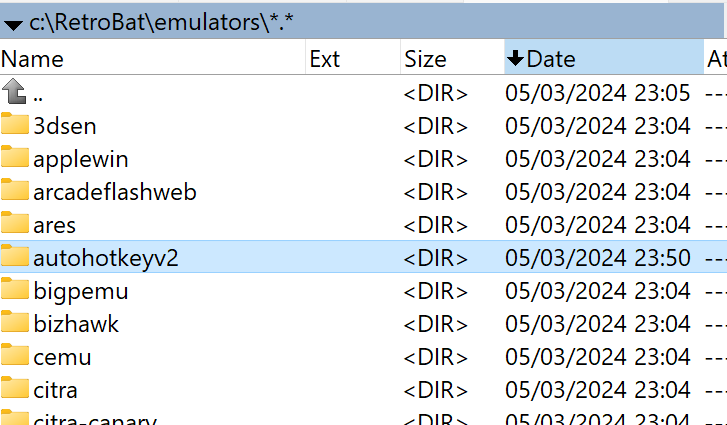
string exe = Path.Combine(path, "AutoHotkey64.exe"); // This exe file has to exist under `RetroBat\emulators\autohotkeyv2` folder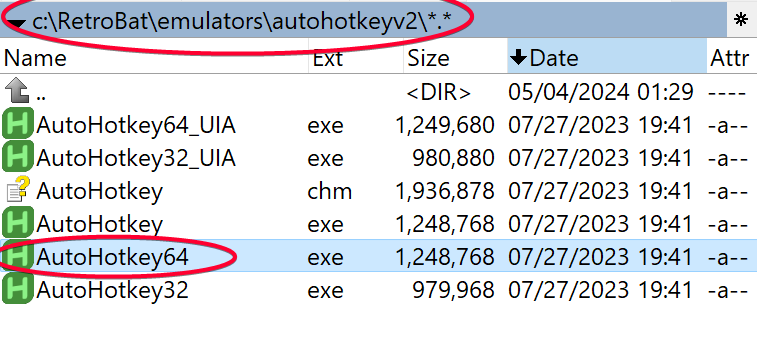
Compile
Select the right drop down menu as pictured below, then click the Start button.\

You should see the following console message at the bottom console window if it compile the EXE file successfully, indicated by exit code 0.

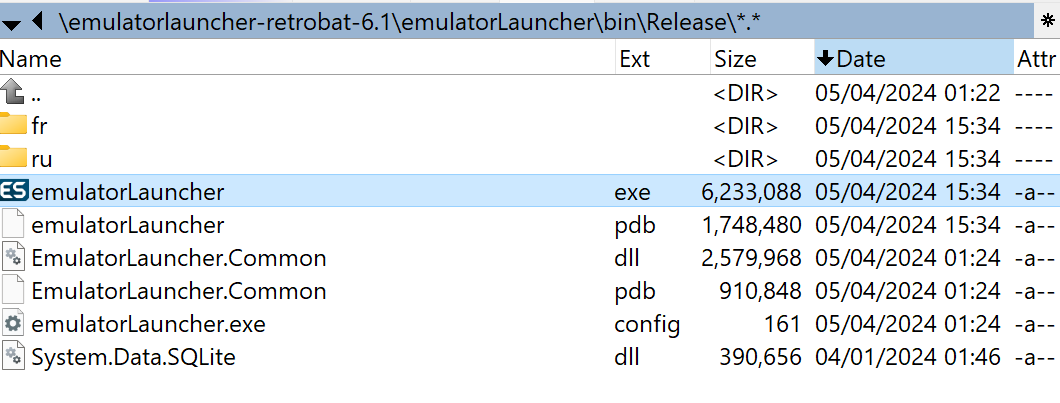
You can find the compiled emulatorLauncher.exe inside emulatorLauncher\bin\Release folder.
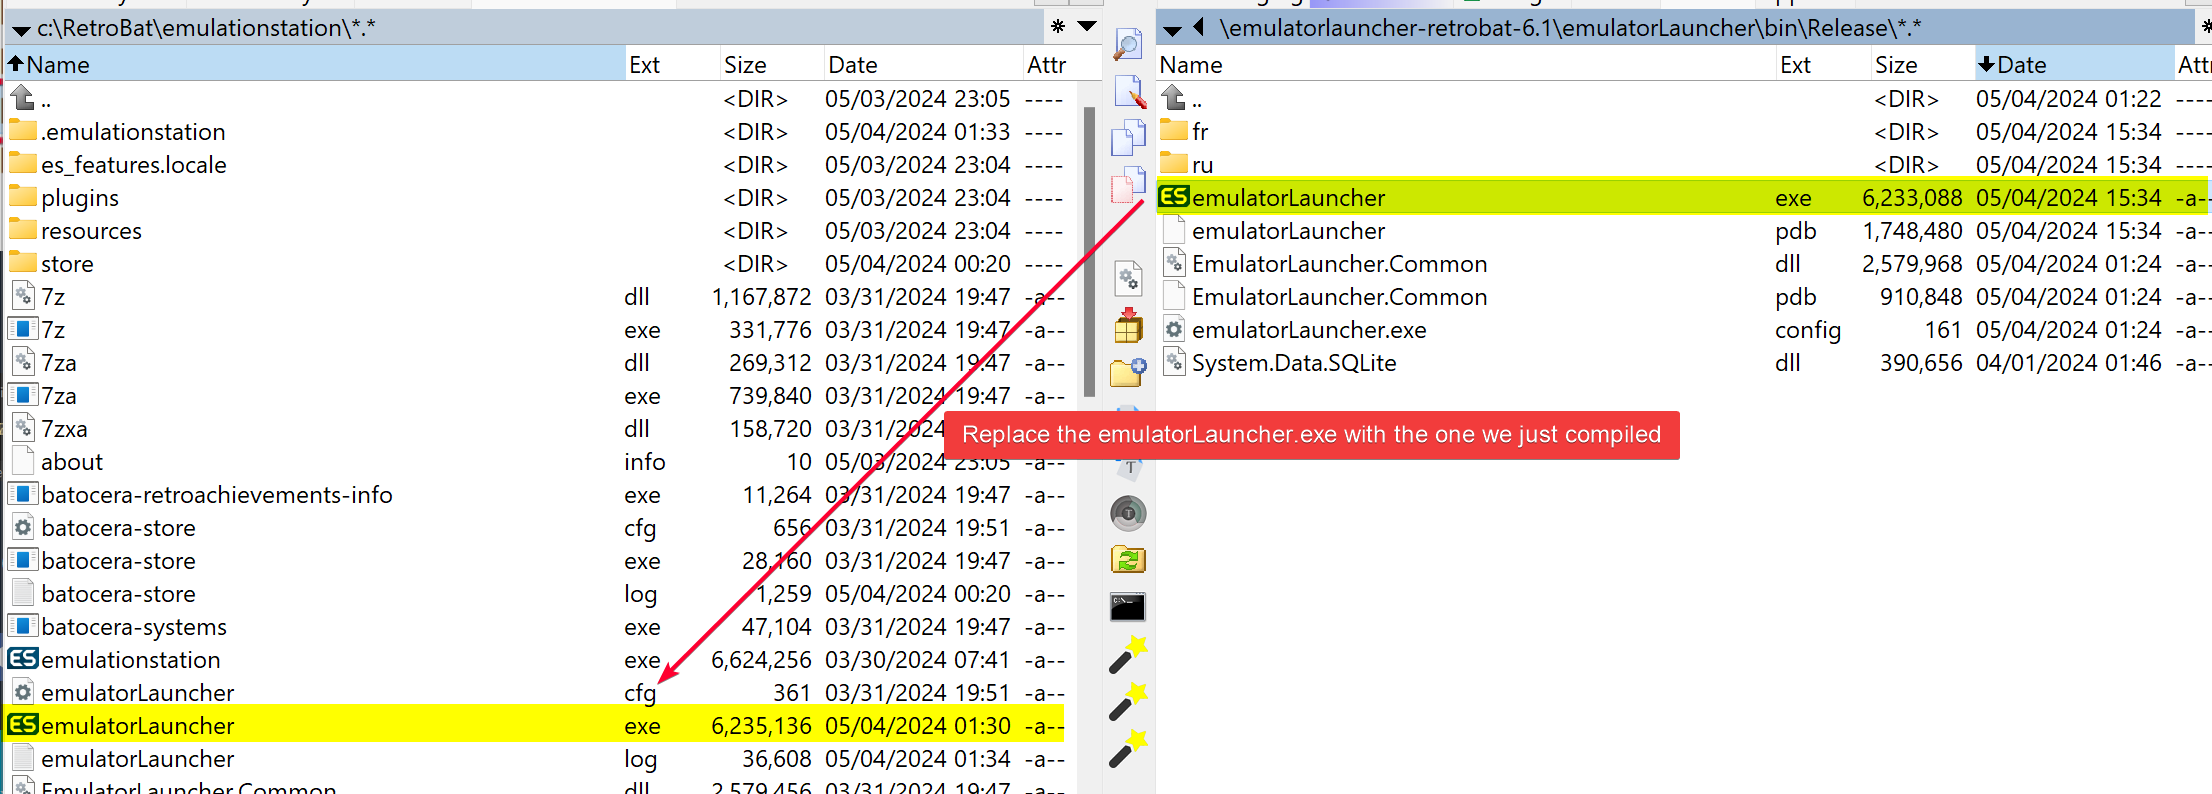
Update emulatorLauncher.exe
Finally, we will replace the existing emulatorLauncher.exe found in Retrobat\emulationstation folder. It is good to make a backup of that original exe file first.
Testing
We will test if this autohotkey emulator can be used to launch the .ahk scripts to run Nintendo Switch roms.
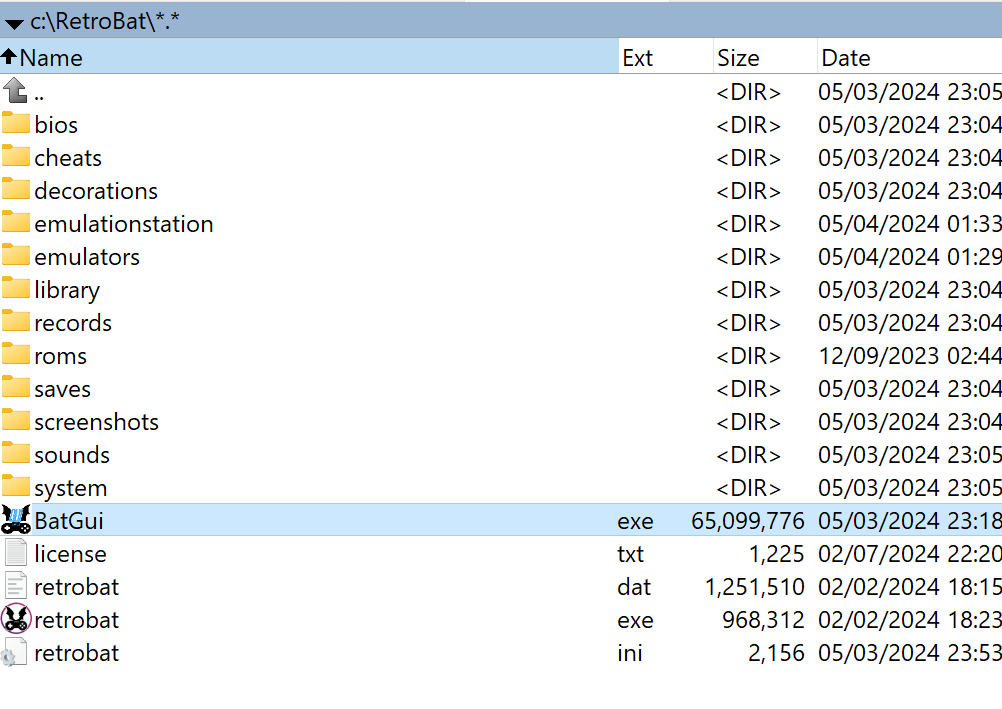
Open BatGui.exe
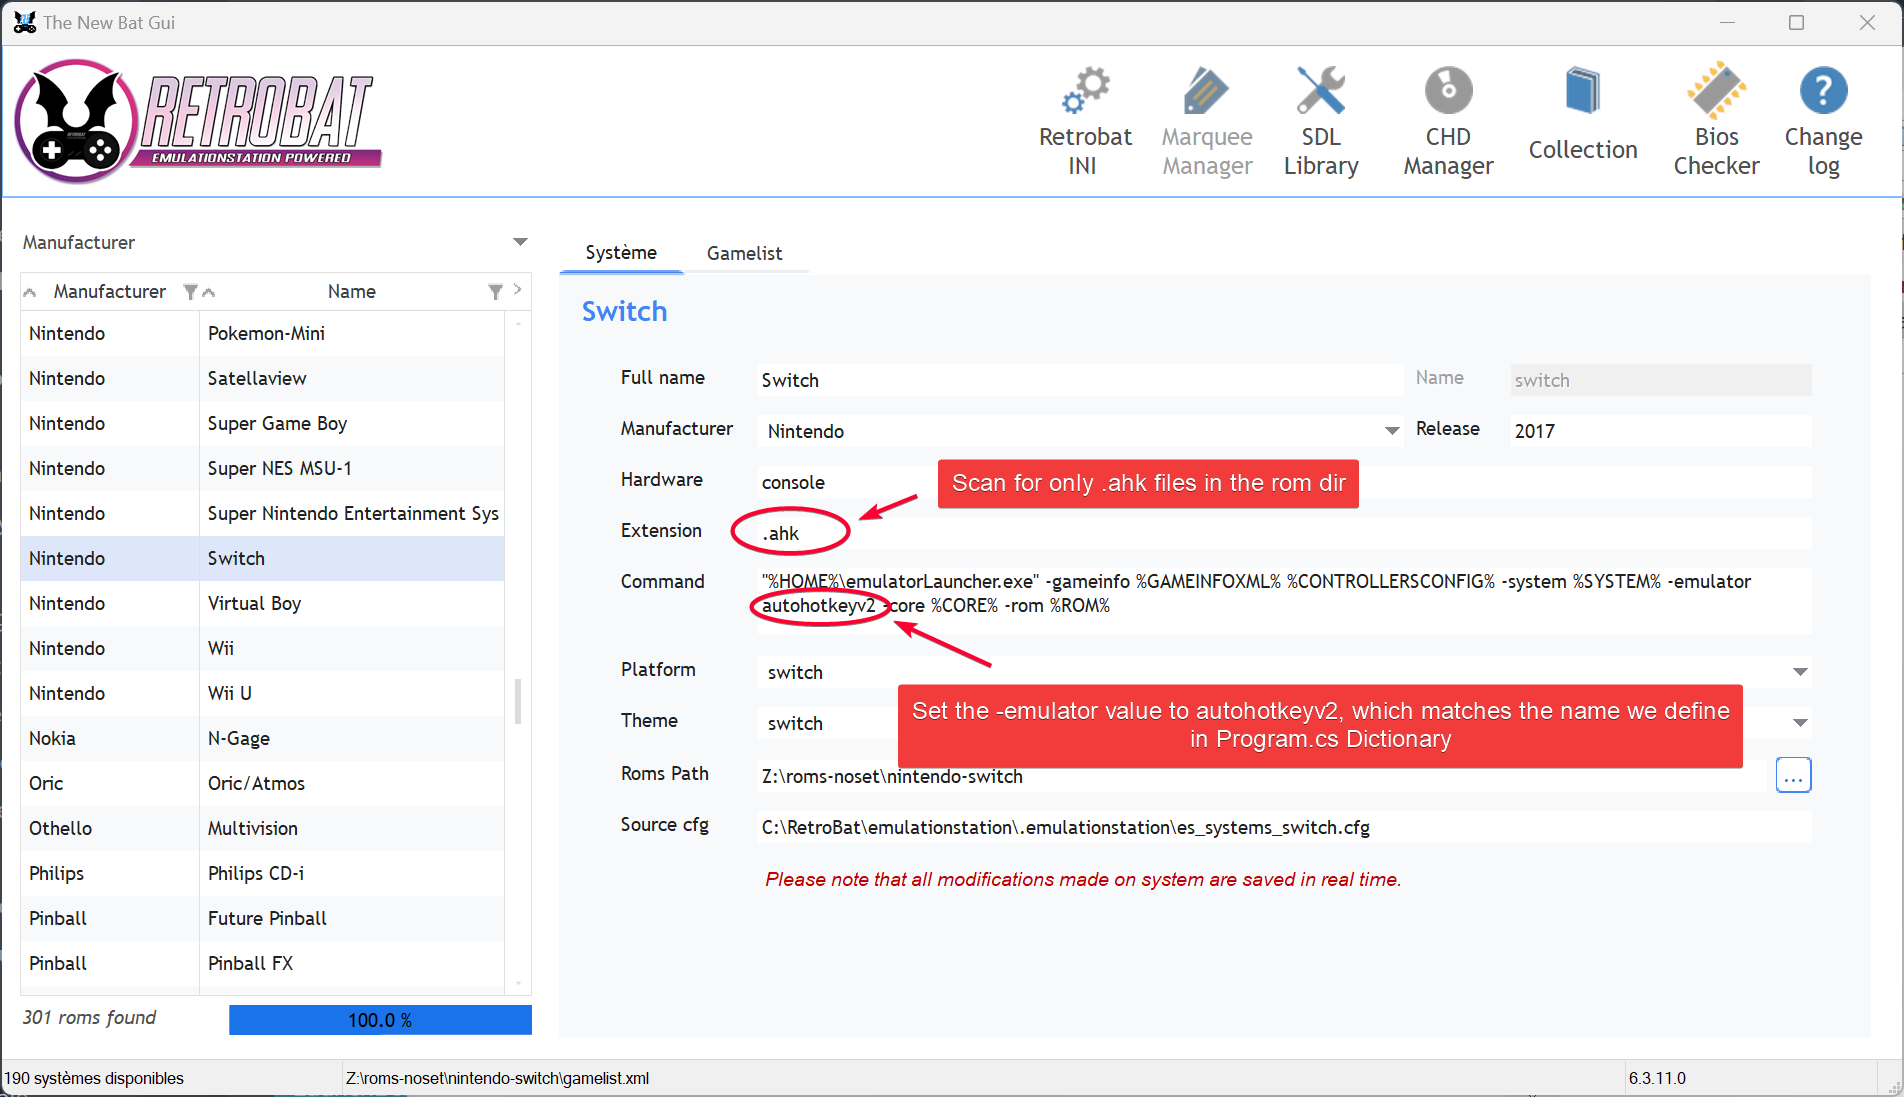
Select Nintendo Switch from the Manufacturer section, then set the following:
- Extension: ahk
- Command: "%HOME%\emulatorLauncher.exe" -gameinfo %GAMEINFOXML% %CONTROLLERSCONFIG% -system %SYSTEM% -emulator autohotkeyv2 -core %CORE% -rom %ROM%
TIP
I had to explicitly use autohotkeyv2 instead of %EMULATOR% like other system because I still couldn't figure out how to add a custom emulator name to the existing platform. I tried adding <emulator name="autohotkeyv2"/> to the es_systems.cfg file but RetroBat still could not pick it up.
  <system>
    <name>switch</name>
    <fullname>Switch</fullname>
    <manufacturer>Nintendo</manufacturer>
    <release>2017</release>
    <hardware>console</hardware>
    <path>~\..\roms\switch</path>
    <extension>.nso .nro .nca .xci .nsp .kip</extension>
    <command>"%HOME%\emulatorLauncher.exe" -gameinfo %GAMEINFOXML% %CONTROLLERSCONFIG% -system %SYSTEM% -emulator %EMULATOR% -core %CORE% -rom %ROM%</command>
    <emulators>
      <emulator name="autohotkeyv2"/>
      <emulator name="yuzu"/>
      <emulator name="yuzu-early-access"/>
    </emulators>
    <platform>switch</platform>
    <theme>switch</theme>
  </system>
Finally, launch RetroBat, select Nintendo Switch platform and select any .ahk games listed there. It should run the ahk script successfully.
To verify, also open emulatorLauncher.log. You shouldn't see any exit code there such as
2024-05-04 01:27:38.181 [ERROR] [Generator] Exit code 204Logs showing successful launching of .ahk file using the newly created AutoHotKey emulator.
...
2024-05-04 01:33:54.228 [INFO]      --------------------------------------------------------------
2024-05-04 01:33:54.229 [INFO]      [Startup] "C:\RetroBat\emulationstation\emulatorLauncher.exe"  -gameinfo "C:\Users\Gary\AppData\Local\Temp\emulationstation.tmp\game.xml" -p1index 0 -p1guid 030000005e040000e002000000007200 -p1path "BTHENUM\{00001124-0000-1000-8000-00805F9B34FB}_VID&0002045E_PID&02E0\7&1F7A91F6&0&E417D844FE76_C00000000" -p1name "Xbox One S Controller" -p1nbbuttons 16 -p1nbhats 1 -p1nbaxes 6  -system switch -emulator autohotkeyv2 -core  -rom "Z:\roms-noset\nintendo-switch\Darkest Dungeon [01008A700989A000].ahk"
2024-05-04 01:33:54.264 [INFO]      [Game] Darkest Dungeon [01008A700989A000]
2024-05-04 01:33:54.399 [INFO]      [Generator] Using AutoHotKeyGenerator
2024-05-04 01:33:54.465 [INFO]      [PadToKey] Loaded C:\RetroBat\emulationstation\.emulationstation\es_padtokey.cfg
2024-05-04 01:33:54.481 [INFO]      [Running] C:\RetroBat\emulators\autohotkeyv2\AutoHotkey64.exe "Z:\roms-noset\nintendo-switch\Darkest Dungeon [01008A700989A000].ahk"
2024-05-04 01:33:54.640 [INFO]      [PadToKey] Add joystick Xbox One S Controller - Device:0, Player:1, Path:BTHENUM\{00001124-0000-1000-8000-00805F9B34FB}_VID&0002045E_PID&02E0\7&1F7A91F6&0&E417D844FE76_C00000000
2024-05-04 01:34:30.831 [INFO]      Xbox One S Controller - Device:0, Player:1, Path:BTHENUM\{00001124-0000-1000-8000-00805F9B34FB}_VID&0002045E_PID&02E0\7&1F7A91F6&0&E417D844FE76_C00000000